Moving Mail from InSIS to Office 365
- Changing the Distribution Server in Office 365
- Verifying the Change of the Distribution Server
- Moving Mailbox Content from InSIS to Office 365 via Mail Migration
- Moving Mailbox Content from InSIS to Office 365 via Outlook
1. Changing the Distribution Server
The first step is to change the distribution server:
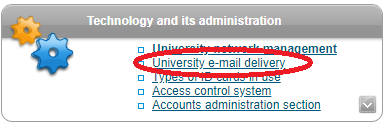
1. After logging in to InSIS, select the University Mail Delivery application in the application group Technology and its Administration:
2. You will see the following menu where you can change the distribution server:
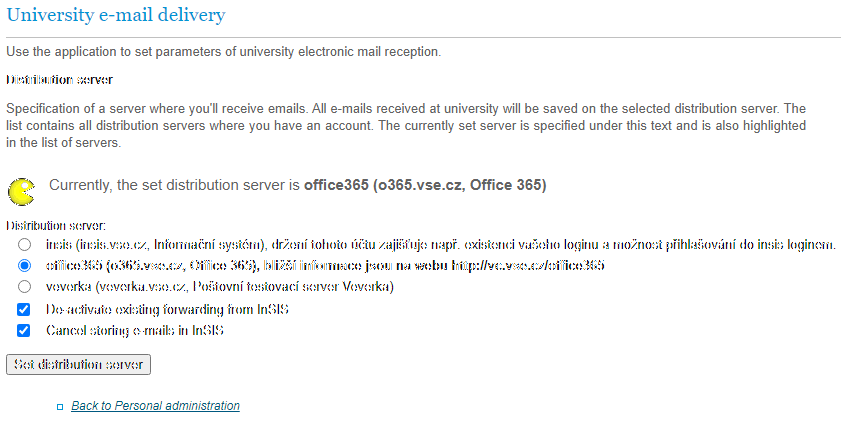
To remove existing forwarding from InSIS – leave checked to cancel the current forwarding from InSIS. If you wish to forward mail to an external email address, forwarding must be set up in Office 365.
To cancel saving mail in InSIS – after changing the distribution server in Office 365, emails sent by another user from InSIS can also be saved in InSIS. If this option is checked, the mail will only go to Office 365.
3. The distribution server change will take effect within an hour. Verify the change with an email sent to your school email address.
2. Verifying the Change of the Distribution Server
We emphasize again the distribution server change will take effect within an hour.
- InSIS Authentication: The University Mail Delivery page shows that you have a new distribution server set up.
- Send or have a test e-mail sent from a mailbox outside VŠE. When it arrives in Office 365 (on a new distribution server), the change of the distribution server is complete.
- Now is a good time to set up possible mail forwarding.
3. Moving Mailbox Content from InSIS to Office 365 via Mail Migration
You can also copy InSIS mailbox content to your Office 365 mailbox.
1. You specify a migration request in the Mailbox application.
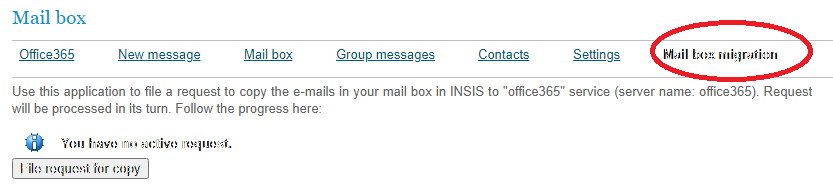
2. Migration usually takes several hours. You will see the result again on the Mail Migration page. In Office 365, you will then find emails sent/received in InSIS – sometimes separate folders are created for them. You can move messages to other folders.
3. During the migration, the content of the mailbox in InSIS is not deleted. It is therefore advisable to delete unnecessary messages in InSIS.
You can also migrate your mailbox later – for example, if you wish to move messages sent from InSIS to your Office 365 mailbox.
Migration may run into issues if you have a large number of messages (more than 1000) in InSIS or the content of the mailbox exceeds 100MB. In such a case, you can move the content of the mailbox through the mail client.
4. Moving Mailbox Content from InSIS to Office 365 via Outlook
If you have a large number of e-mails in InSIS, you can transfer them using the mail client. The following is a description for Outlook.
- Set up your Office 365 mailbox in Outlook.
- Add a mailbox in InSIS connected via IMAP. In summary:
- In the top bar, select File, then find Add Account. Enter the e-mail address username@insis.vse.cz, via the Advanced options check “Enable me to set up my account manually”. On the next screen, select IMAP. On the next screen, fill in the data according to the parameters for the IMAP protocol in InSIS.
- You now have two mail accounts in Outlook. With Copy/Paste, you can copy emails from InSIS mailbox folders to the respective folders in Office 365.
Warning! Messages from the Sent folder (Sent) must be copied to the Sent Items folder in Office 365, otherwise, senders and recipients will be mixed. - After copying, cancel the account username@insis.vse.cz in Outlook.
- When copying, messages in InSIS are not deleted. Log in to InSIS and delete unnecessary messages in InSIS.