Printing and Copying
Printing on network printers
| 1. Select the type of print queue to which you want to send your task (see below for an overview of printers and their locations) |  |
| 2. Put your ID card to the reader |  |
| 3. Choose the Print button | 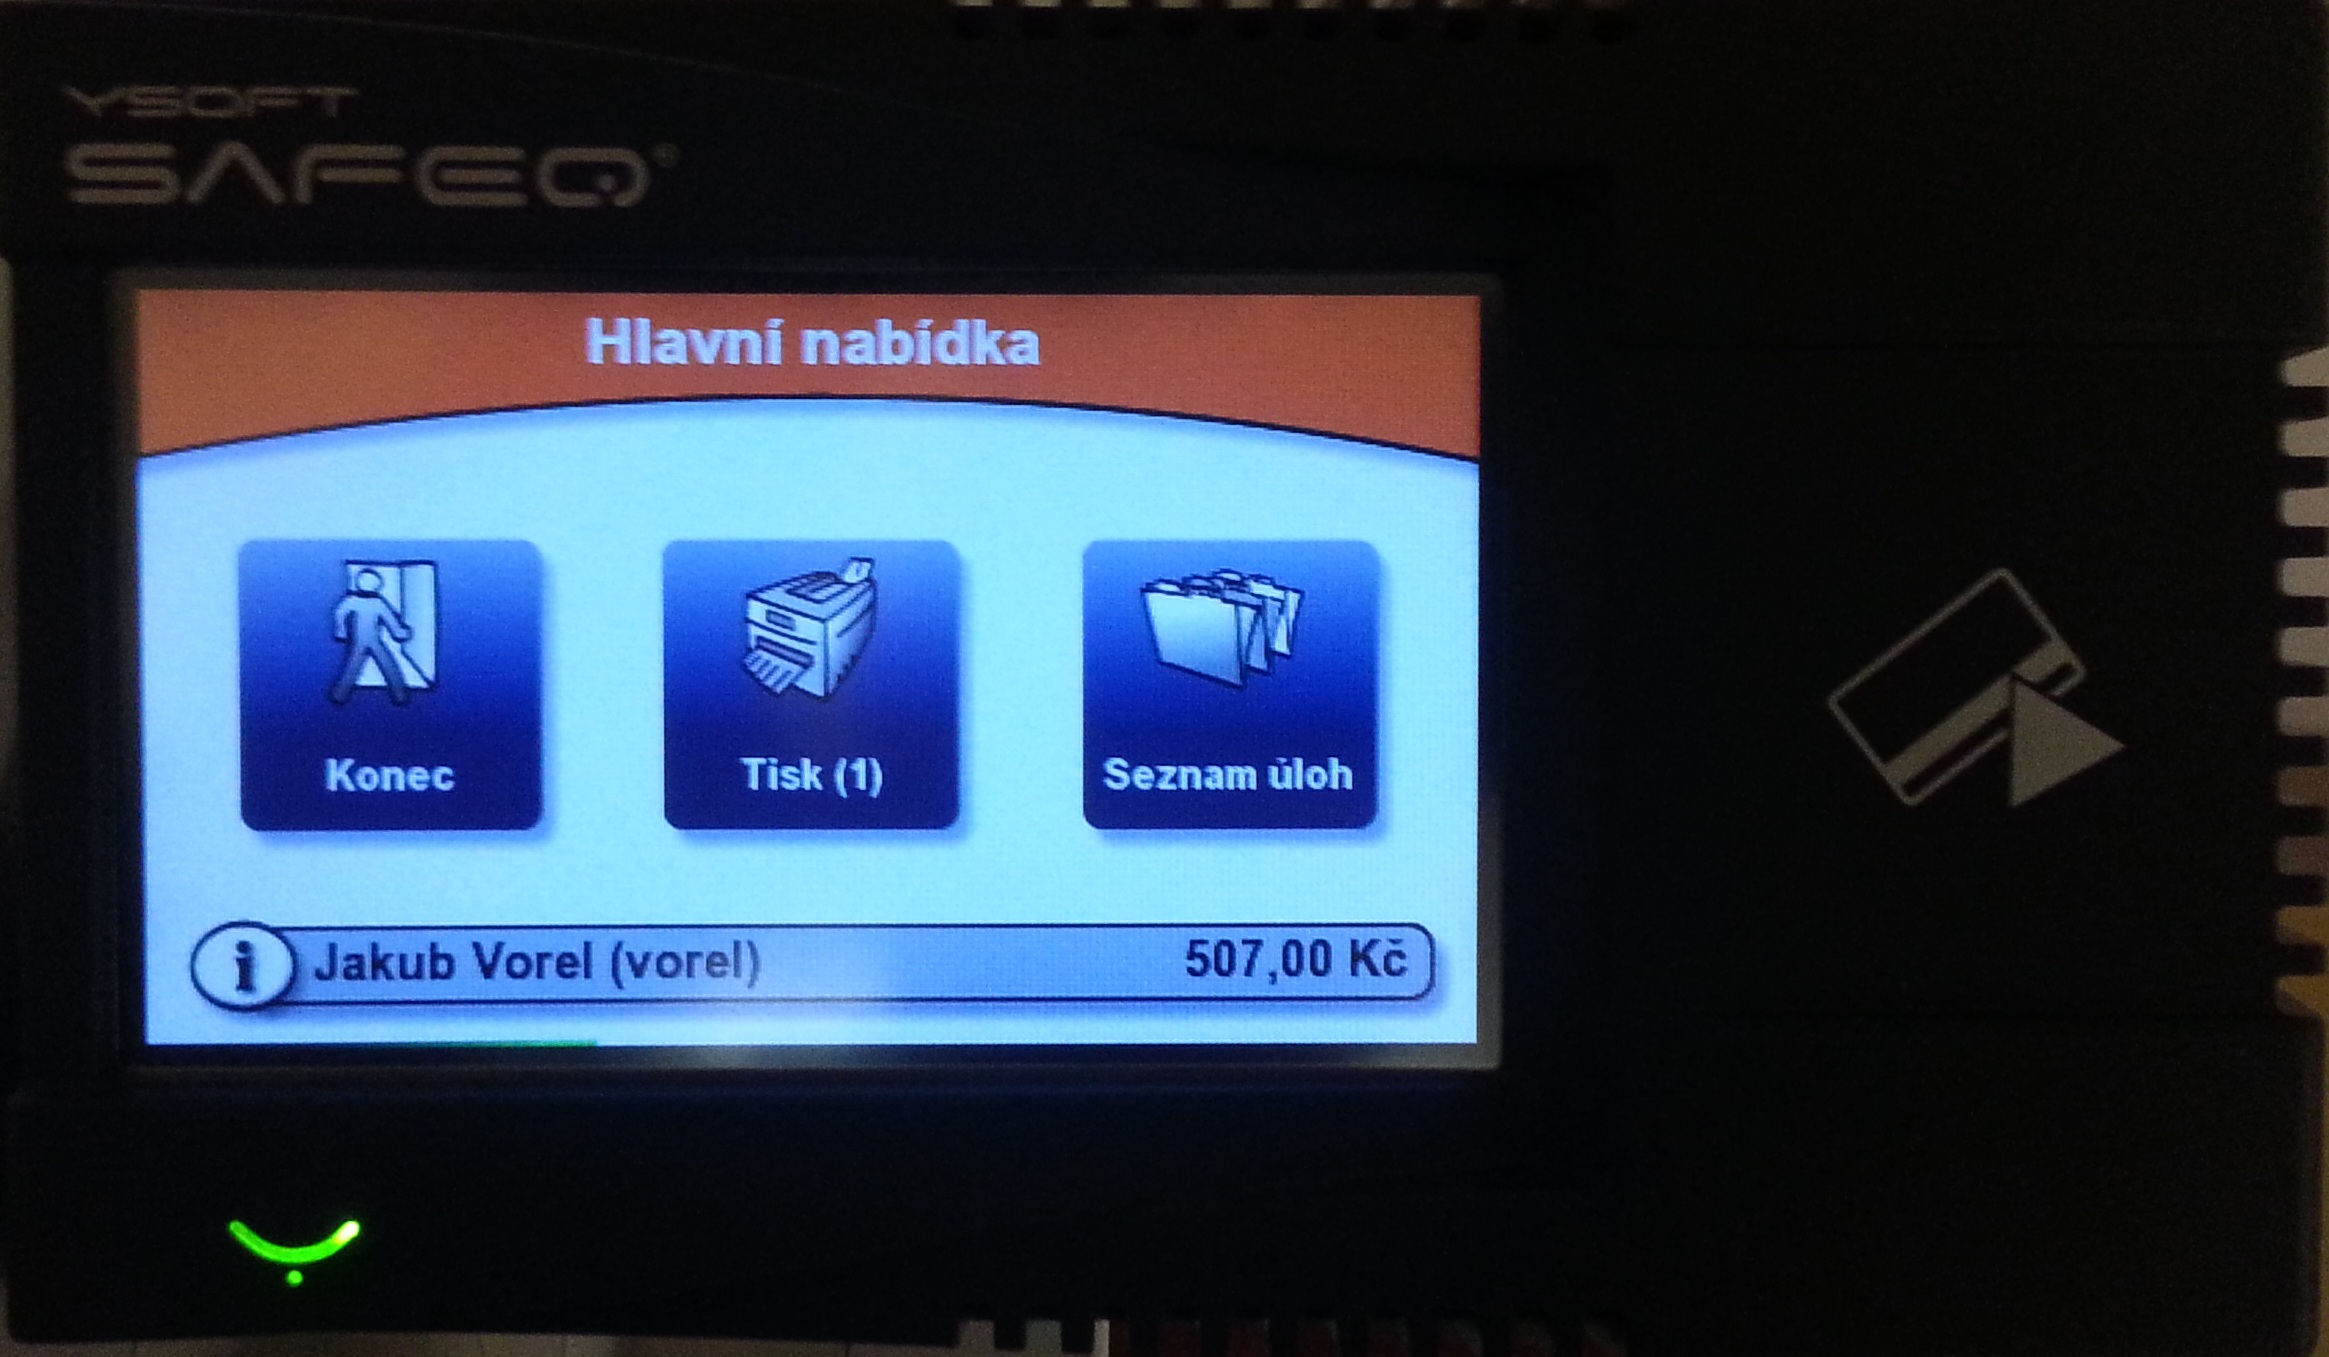 |
| 4. Click on the text of the document name to select the document you wish to print (if you have multiple documents to print in the queue, you can touch and mark them all at once) |  |
| 5. In the bottom right corner, confirm the selected document by pressing the printer symbol | 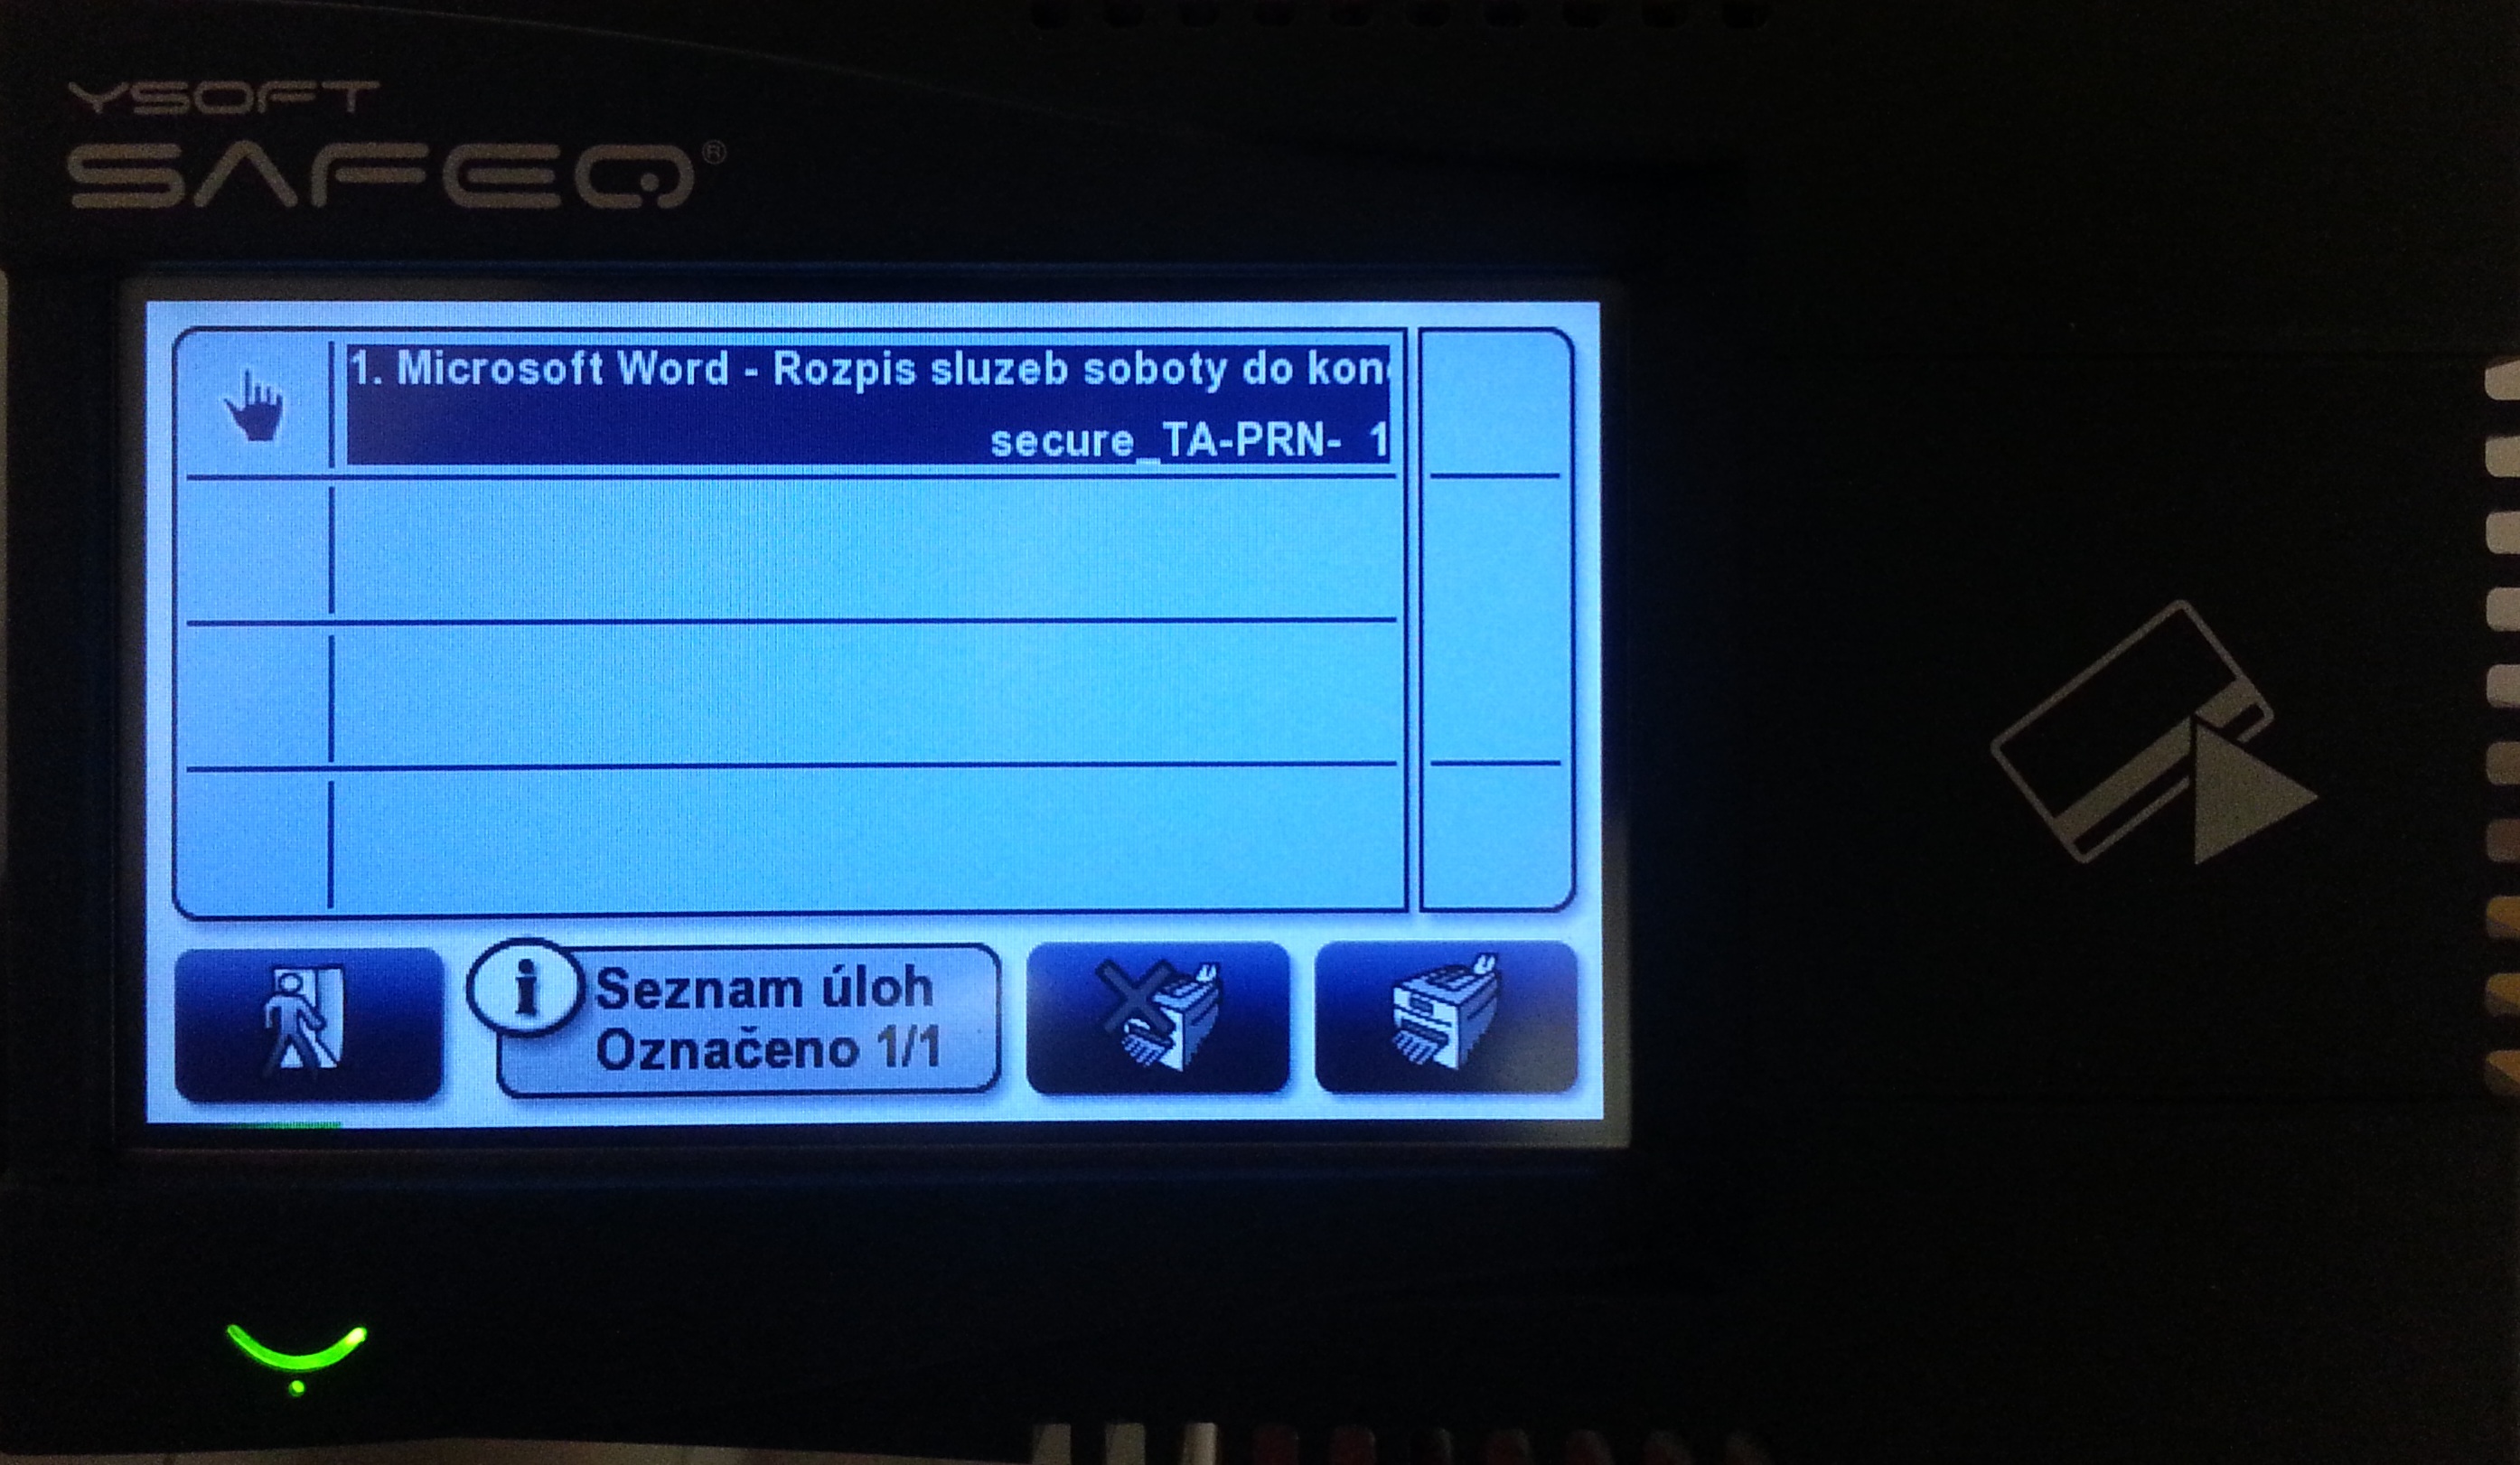 |
| 6. The system will start reading your document and prepare it for printing | 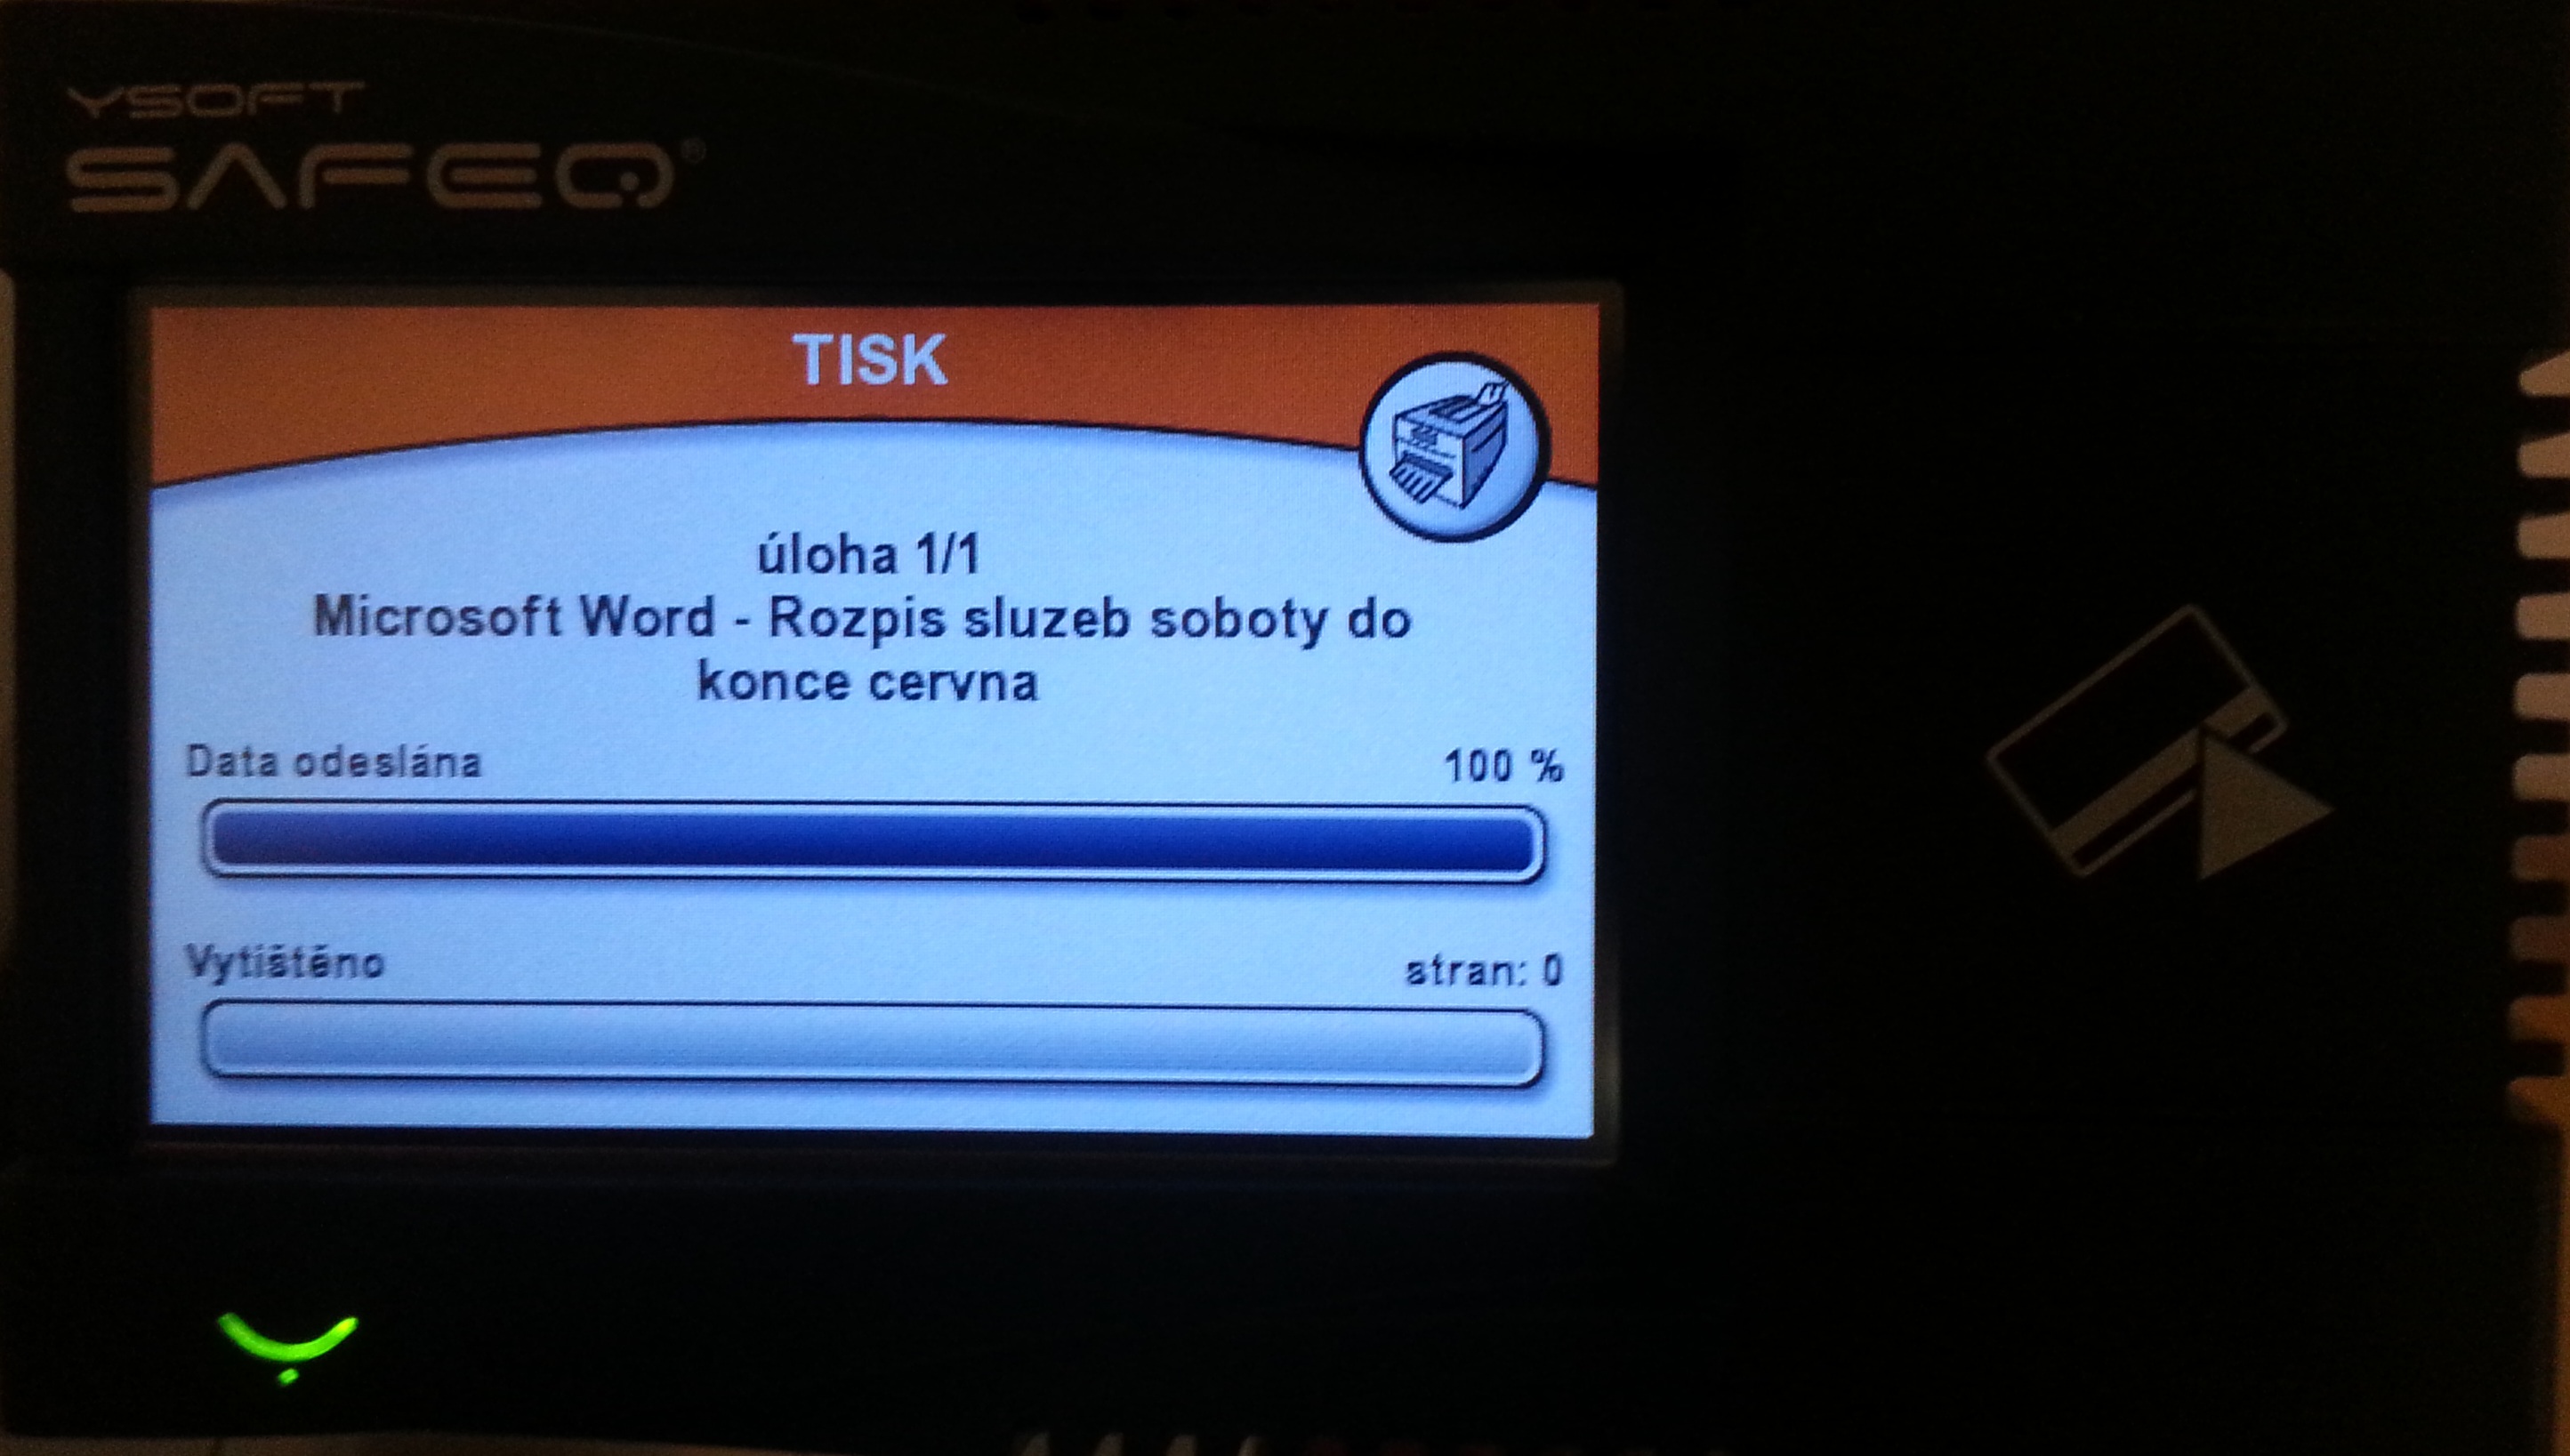 |
| 7. After the document is printed, the system informs you of the total number of tasks printed, the number of pages, and the total cost. | 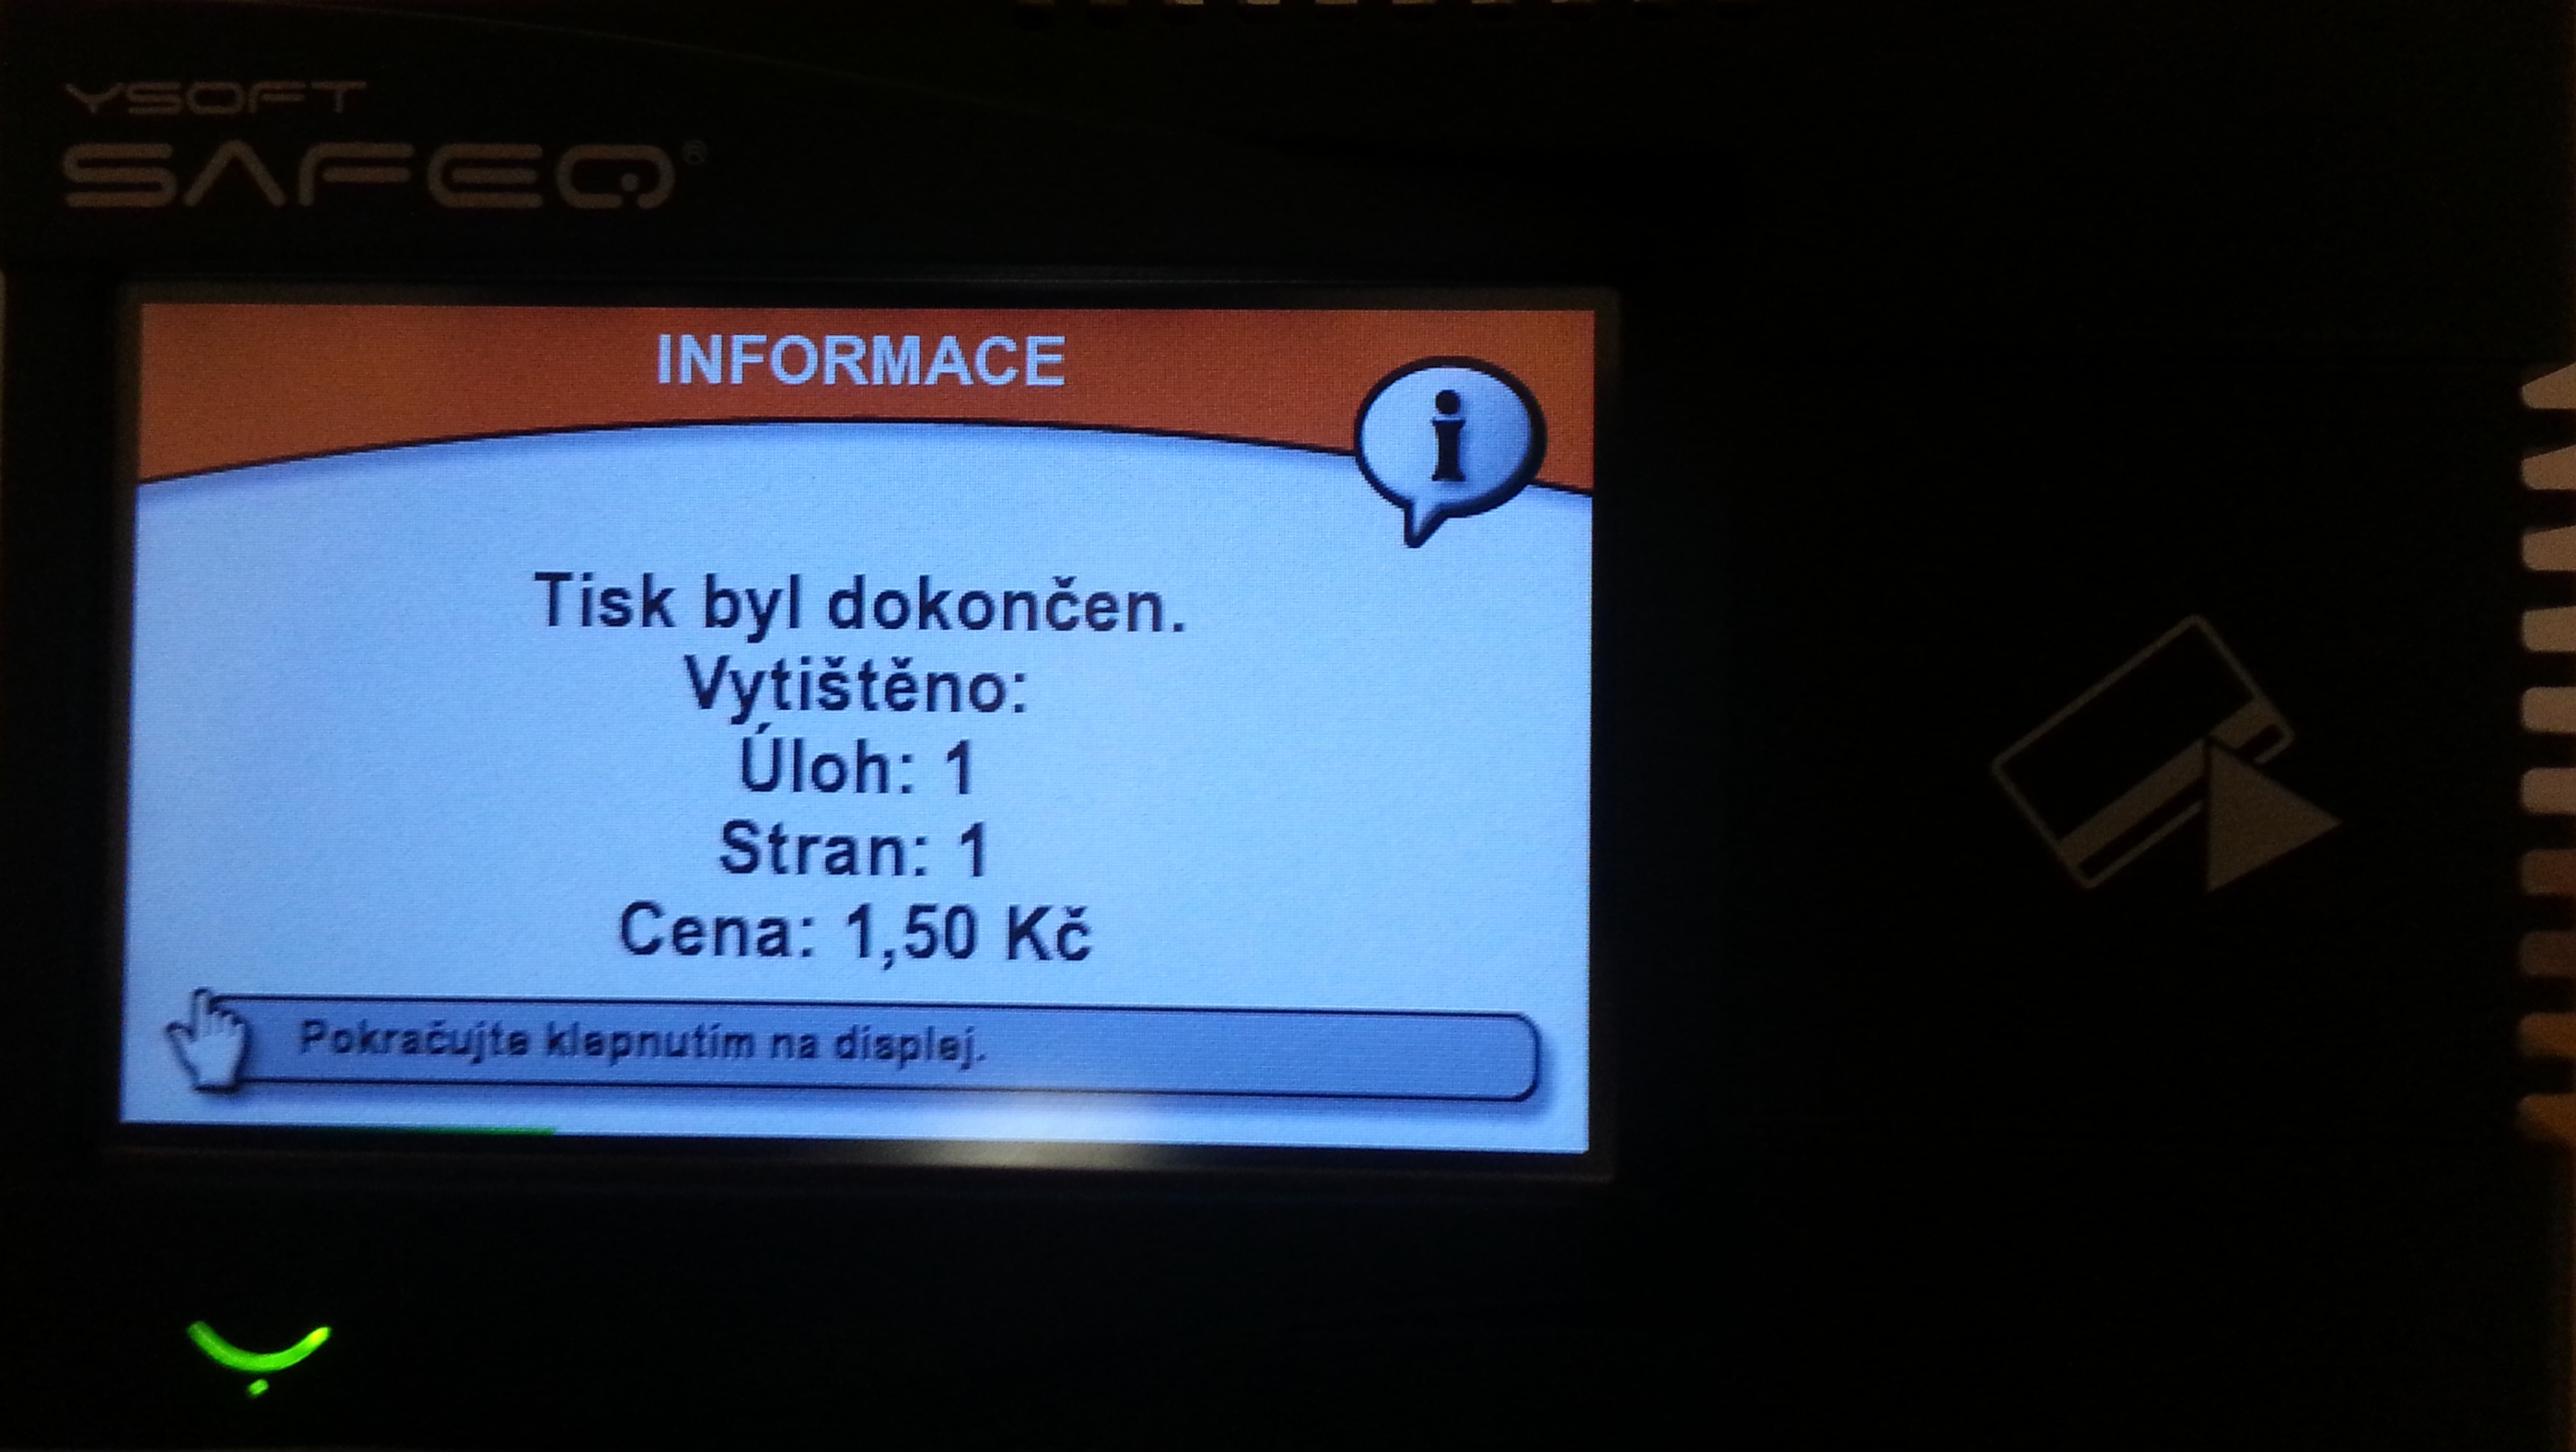 |
| 8. Touch the display to log out and the reader is ready for the next user |  |
Working on Copiers
| 1. Put your ID card to the reader | 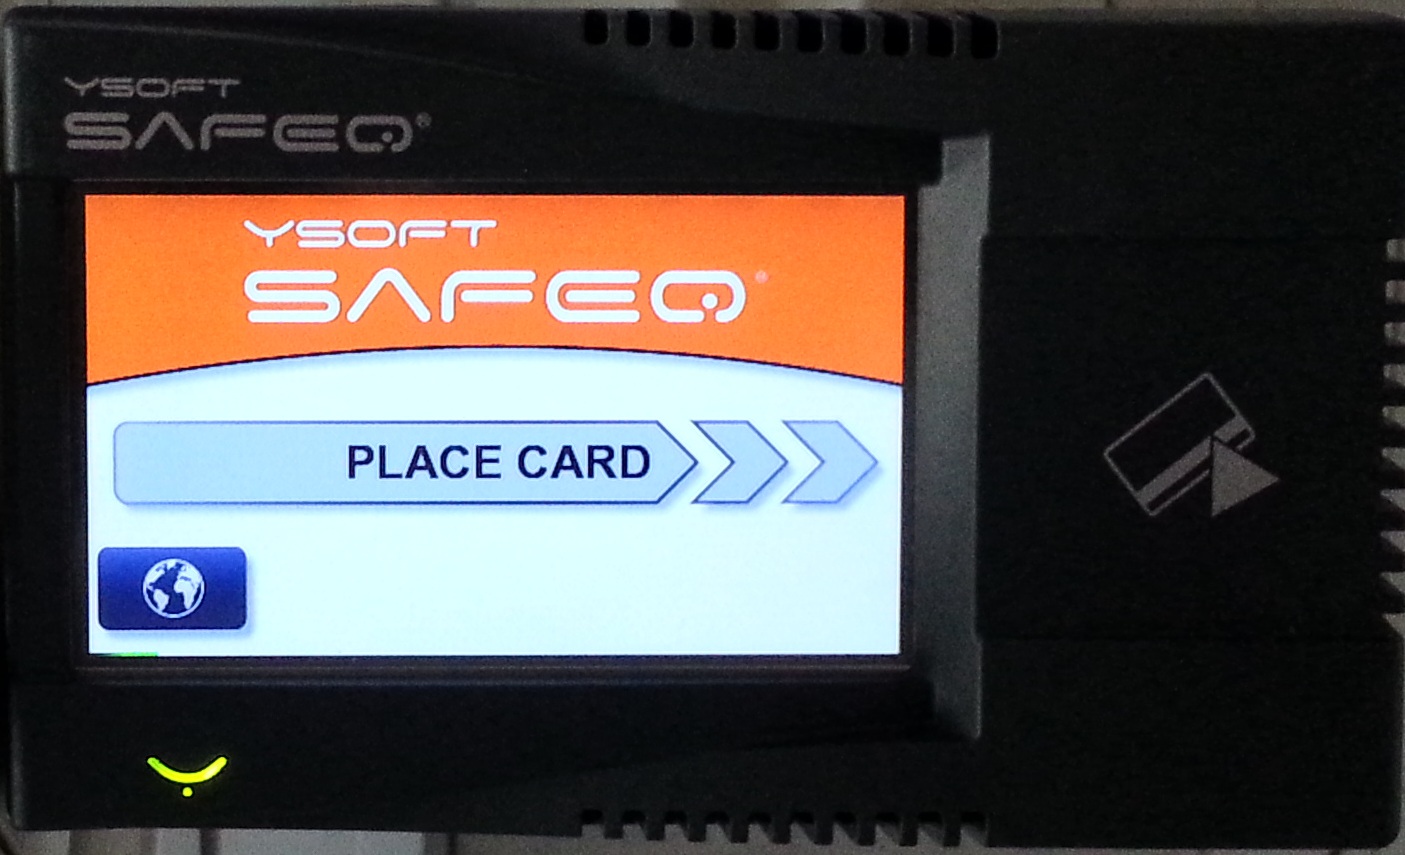 |
 |
|
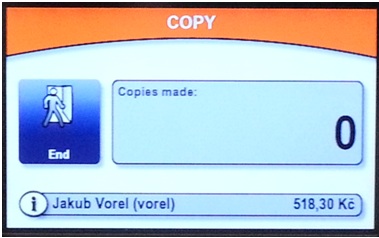
| 2. From the copier control panel, select the desired action and press Start to make a copy of the document. | 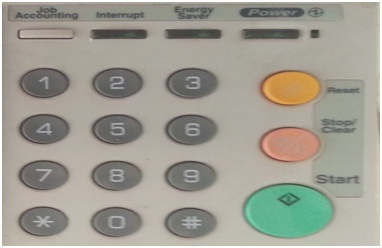 |
| 3. When copying is finished, press the Exit button, the terminal will automatically log you out. | 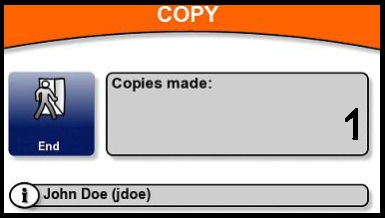 |
Why did the system change when the old one worked?
The exchange of NESA system for SafeQ system has been triggered by two factors that will certainly come in handy for your students in the future. A large percentage of you have lost your ID card during your studies or have been stolen several times. NESA worked with money that was deposited directly on your ID card chip and the card acted like an electronic wallet. In case of theft or loss of your ID card, you have lost your money irretrievably. In the new SafeQ, the ID card acts as an identifier and the money you deposit are stored in the system in your account. If your card is lost, stolen or broken, the money is automatically credited to a new card that you have made, so you can continue to use it. The second factor that led us to change the original NESA system was the printing system itself. You were forced to always select a specific printer to print the desired document. It was not uncommon for a particular printer to stop working, and you were forced to resend your document to another, working printer. Follow Me is running on SafeQ. This means that if you send your document to a specific print queue, you will be able to print it to any printer in that print queue. Printers can substitute for each other in the event of a malfunction. The following table lists the print queues, the number of printers in these queues, and their locations. Information on which print queue the printer belongs to is included on the printers for your convenience.
| Name of print queue/copier | Location of printer/copier |
|---|---|
| Black-and-white /classrooms/ TA LP4240 A4 format one-sided – 1,50 Kč A4 format two-sided – 3,00 Kč |
Žižkov CIKS (Library) |
| Žižkov room 100 SB | |
| Jižní Město JM 352 (PC classrooms) | |
| color/classrooms/ OKI C321 A4 format one-sided – 8,00 Kč A4 format two-sided – 16,00 Kč |
Žižkov room 100 SB |
| Jižní Město JM 352 (PC classrooms) | |
| Black-and-white / CIKS / OKI B411 A4 format one-sided – 1,50 Kč |
Žižkov CIKS (Library) |
| Jižní Město CIKS (Library) | |
| Copying machines TA LP2150 A4 format one-sided – 1,70 Kč A3 format one-sided – 3,40 Kč |
Žižkov CIKS (Library) |
Can I send my print tasks from a computer other than computer classrooms?
The minimum deposit for the VŠE card is set at CZK 10 at the charging points.
This service is currently unavailable. It is being re-launched. Once everything is ready, the tutorial will be placed on this site and you will be able to send your print tasks from your private computers and laptops.
SafeQ Application on the web
On the address https://safeq2016.vse.cz/, there is the interface of the SafeQ system itself. Here you can clearly review all print tasks you have printed/copied or track money movements on your card. To log in, put the InSIS username and password again.
Task List
Using the task list, you can check all of your print tasks, both unprinted and previously sent to print. At the top of the main window, there is a task filtering tool. You can filter them both by the date they were sent to print or printed, and by their status. The Task List option displays all of your tasks while the To Print option limits these tasks to tasks that have not been printed. The Favourites option displays all the print tasks you have set as Favourites (documents you print frequently, such as forms, applications, and so on).
Depending on the filter rules currently set, all relevant print tasks are displayed.
You can view information about each task by clicking the icon  . If you wish to resend the tasks to print, click on the icon
  .
.
You can delete one or more tasks from the list by selecting them and selecting Cancel from the queue in the drop-down menu below the Task List. In the same way, you can assign one or more tasks to reprint (send to print) or mark them as Favourites (move to Favourites). All print tasks not older than 7 calendar days remain in the Task List. After this time, they are automatically deleted from the system and will no longer be available to you.
Account
Under the Account item, there is a complete overview of money movements on your card, i.e. every recharge and withdrawal of any amount from the card. At the top of the main window, you can set up a time filter (similar to print tasks) to display money movements on the card in the selected period.

Depending on the filter settings, you will see the current account status.
Use the icon  to view information about specific print tasks that you have paid for with your card. You will also see the amounts deducted for copying and printing. The icon
  displayed at items for money deposit / withdrawal allows you to print a deposit/withdrawal receipt.