Thunderbird and Mail in Office 365
Thunderbird and mail in Office 365
Office 365 uses the OAuth2 protocol, which is supported in Thunderbird since version 78. Older versions will not work.
I also recommend you to read How to Configure Thunderbird for Office 365 Using IMAP (Oauth2).
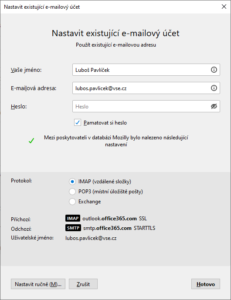
- At first while setting up your account you’ll enter your name and e-mail address. Do not enter password. After pressing the Continue button, Thunderbird will find settings for IMAP and SMTP:
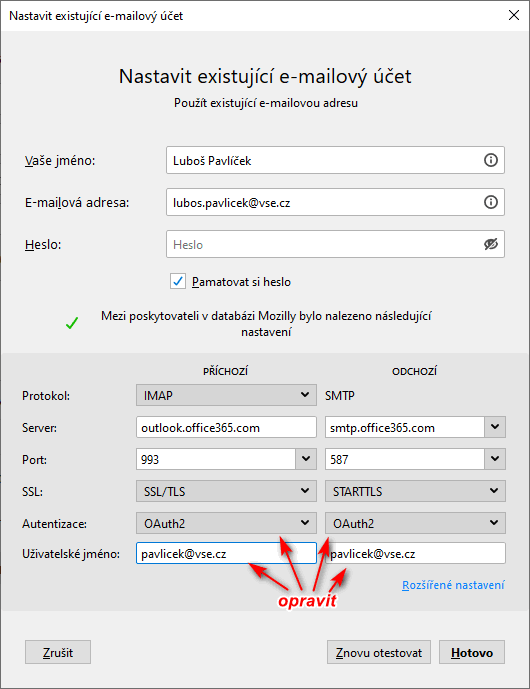
It’s necessary to correct method of authentication and user name. At the bottom, press the Set manually button and change the authentication to OAuth2, and if need be also the user name:

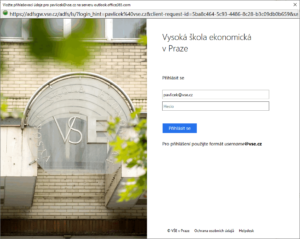
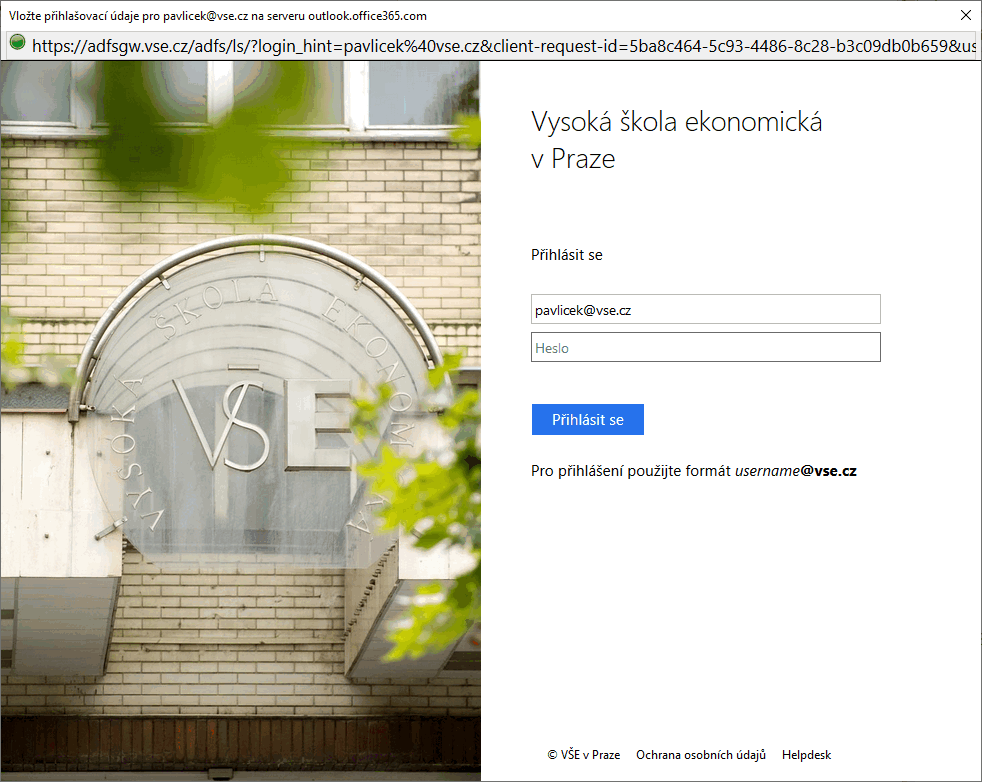
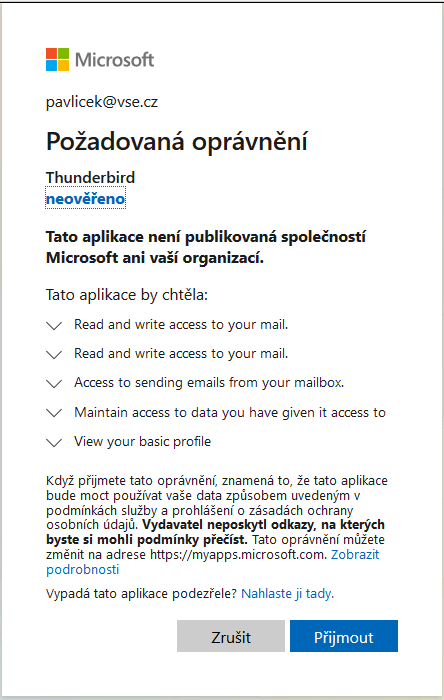
After submitting (button Done), a school Office 365 sign in page should be displayed. It’s necessary to sign in. A screen with confirmation of required permissions for the Thunderbird application then follows.

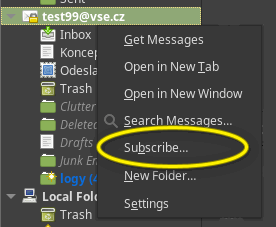
- Configure which folders should be displayed in Thunderbird. Out of the box, only Inbox is displayed, so subscribe to other folders – in context menu in your account choose Subscription manager:
Then you can choose individual folders to subscribe to. Their names may differ based on localization settings of your mailbox. Some folders are related to other functions in Office 365 mailbox – Tasks, Diary, Conversation history, Calendar, Contacts, RSS subscriptions, Notes. Some folders only have meaning for Outlook, such as Problems with synchronization or Outgoing mail.

In order for Thunderbird to show you your subscribed folders, it may be necessary to restart the application. - Go to Account settings (item Configuration in context menu) and here check the assignment of folders for deleted mail, sent mail, for archive and for drafts.

P.S. In order to sign in, cookies are necessary. Those who turned cookies off won’t be able to sign in. We expect those who turned them off to be adequately technically skilled to find out for themselves which ones are required for Thunderbird to function.